Potato preparation technology for planting
Potatoes need pre-planting preparation no less than vegetable seeds. Many gardeners are not aware of this procedure, but it guarantees a high quality tuber crop at the end of the season. In the article, we will share information on how to prepare and how to process potatoes for seeds.
The content of the article
- Why do you need to prepare tubers and is it possible to do without it
- When to prepare planting material
- Methods for preparing potatoes for planting
- How to select tubers for planting
- Processing tubers before planting
- Processing by folk methods
- The most common mistakes and difficulties
- Tips and tricks from experienced gardeners
- Conclusion
Why do you need to prepare tubers and is it possible to do without it
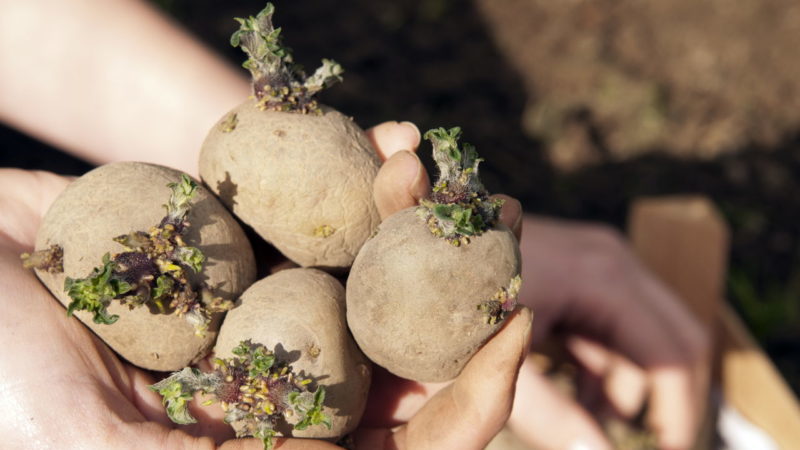
Preparation of tubers promotes growth acceleration, resistance to adverse weather events (drought, lack of sun, sudden cold snap), harmful insects and diseases. Sprouted tubers take root faster, release leaves, and an early and larger harvest is formed.
At the beginning of the procedure, low-quality and diseased specimens are identified that will not give the expected result.
Without processing the planting material, potatoes will sit in the ground for a long time and spend energy on the emergence of sprouts. Such bushes have reduced immunity and a long growing season.
When to prepare planting material
A set of measures for the preparation of tubers begins a month before planting. The timing of their start depends on the growing region:
- middle band - end of April;
- Siberia, Urals, Far East - end of April - beginning of May;
- southern regions - second half of March.
Methods for preparing potatoes for planting
There are several ways to prepare your potatoes before planting. The choice depends on the goals and conditions.
Germination
Germination of tubers before planting awakens the kidneys and reduces the likelihood of late blight. There are several variations of the method.
Dry germination in the light
In a lighted room, the tubers are laid out in boxes or pallets. In the first 10 days, a temperature of + 18 ... + 20 ° C is required, then it is lowered to + 12 ... + 14 ° C. Potatoes are periodically turned over for 20-40 days. During this time, strong shoots 2-3 cm long grow, which will tolerate transportation.
The method allows you to increase the yield up to 40%. If there is not enough space, the tubers are placed in bags or nets and hung in a lighted place, but so that the sun's rays do not fall on them. In plastic bags, 5-6 holes are made for ventilation. Several times during the entire time, they are turned over on the other side for uniform illumination.
Wet germination
The tubers are placed in a container with a moist substrate. Peat, sphagnum moss, humus, sawdust are used as material. At a temperature of + 12 ... + 15 ° C kept in a dark place for 15 days.
Potatoes do not dry out and retain moisture, and sprouts and roots receive more nutrients. The substrate is moistened with a solution of 50 g of superphosphate and 30 g of potassium sulfate, diluted in 10 l of water.
Combined method
This method is used to obtain the earliest possible harvest. Stages:
- For 2-3 weeks, germinate by dry method at a temperature of + 12 ... + 14 ° С.
- They are laid out in boxes with a wet bedding and kept for 7-10 days at a temperature of + 20 ... + 22 ° С, avoiding drying out.
- When the roots appear, they are treated with a solution of 10 liters of water, 30 g of nitrate, 30 g of potassium and 50 g of superphosphate.
- After the leaves appear, the tubers are planted.
Wilting
The method is relevant if the tubers have not yet left the dormant state by the beginning of spring. They are evenly distributed on a flat illuminated surface where the temperature will not drop below + 20 ° C. After 2 weeks, the tubers will shrink and eyes will appear. Such seed material is suitable for planting.
Note! When wilting, the sprouts do not have time to form.
Warming up
The method will help out if there is little time left for preparation. 3-5 days before the expected planting, the tubers are transferred from the storage to a warm room with a temperature of + 12 ... + 15 ° С. After 5-6 hours, it is increased by 2 ° C. Further, they also do every 2 hours until the temperature reaches + 30 ° C.
It is enough to keep the potatoes warm for 3 days to activate the growth of the shoots.
Vernalization
The concept of vernalization is a set of measures for the preparation of planting material in order to increase the yield. Among the stages of the process are landscaping, germination, treatment with disinfectants and stimulants. Vernalized potatoes emerge 12-15 days earlier, and are less susceptible to diseases and pests.
Landscaping is carried out in the fall. The tubers are kept in boxes in the light until they turn dark green in color. Then they are stored in the cellar.
Important! Green potatoes are more stable, they are not eaten by mice, and mold does not appear on them.
For spring germination, choose any suitable method based on the number of tubers, the area occupied and the amount of time.
How to select tubers for planting
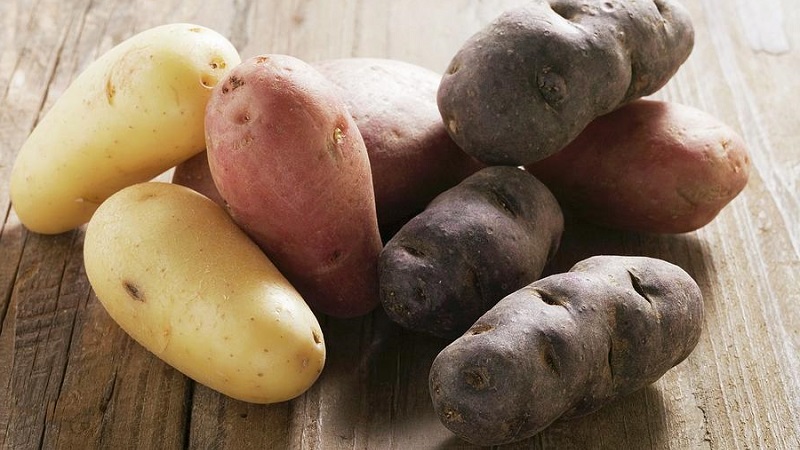
The selection of raw materials is carried out in autumn or early spring. Potatoes with rot spots and mold, soft areas and cracks are not allowed to plant. If a tuber weighs less than 30 g, it is also considered unusable.
Do not use large tubers for planting. Many powerful shoots will grow from them, but the potatoes will be small. If this is a varietal feature, they are cut into 2 equal parts.
Sizing by weight and size:
- 30-50 g - small tuber;
- 50-80 g - medium;
- from 80 g - large.
Each category is planted separately. This will prevent uneven seedlings and facilitate further maintenance.
Important! Small potatoes are planted provided that they are harvested from the most productive bushes.
Processing tubers before planting
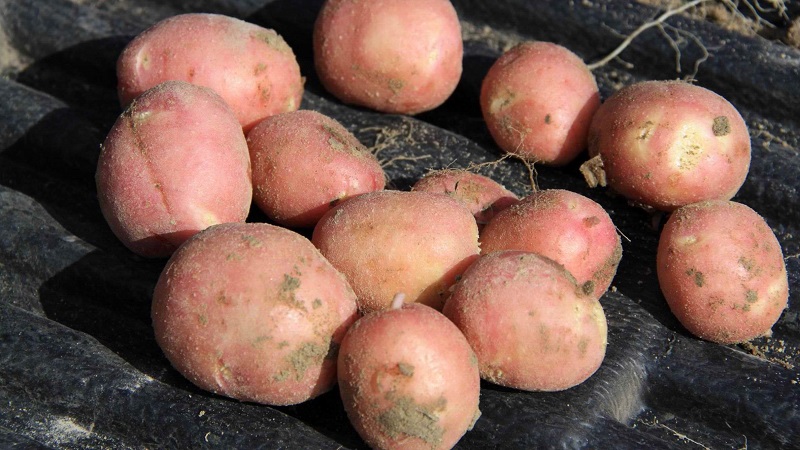
Pre-planting complex treatment includes protection of potatoes from diseases and pests, treatment with growth stimulants.
How to process
For etching, chemical and biological preparations, trace elements and folk remedies are used.
Processing scheme
Standard number of treatments suitable for all varieties and growing regions:
- one disinfection before laying for germination;
- spraying with stimulants in the middle and at the end of preparation;
- pest control 1-2 days before planting.
For what
All preparations and means are used for two purposes: preventing the development of pathogens and pest larvae, as well as ensuring the early germination of tubers and their nutrition.
Against the Colorado potato beetle and wireworm
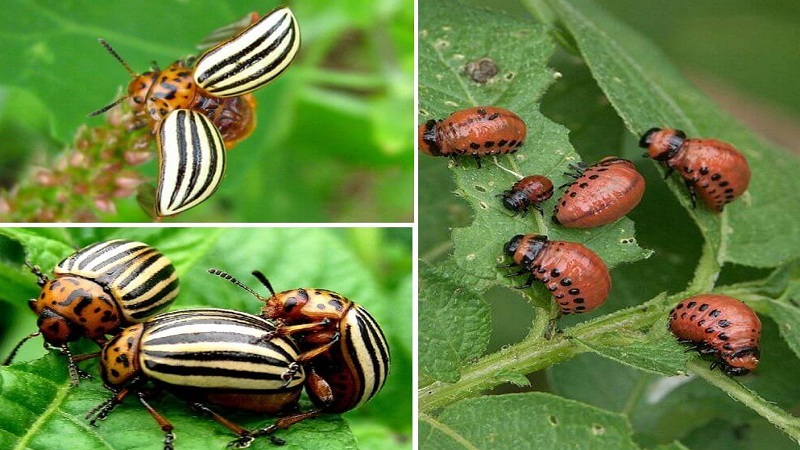
Pre-planting treatment with special preparations makes potatoes inedible and poisonous to pests. Suitable insecticides for wireworm and Colorado potato beetle - the most dangerous and common insects:
- "Prestige";
- "Matador";
- "Taboo";
- "Commander";
- Nuprid 600;
- "Cruiser".
Tubers are laid out on a tarp or film, sprayed with the composition, turned over and sprayed again.
Disease protection
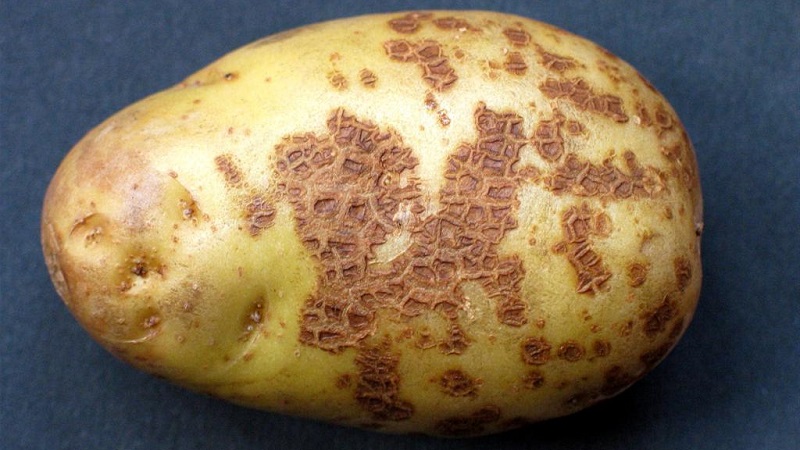
Potato diseases are difficult to treat during the growing season, since the planting material always retains harmful microorganisms on itself. The most dangerous:
- late blight;
- blackleg;
- ring and wet rot;
- silvery scab.
Treatment of bacteria and fungi spores during the germination period reduces the likelihood of their appearance during the growing season. Effective drugs:
- Fitosporin;
- "Albite";
- "Agate";
- Planriz;
- "Immunocytophyte".
When preparing the working solution, the dosage is strictly observed.
To stimulate growth
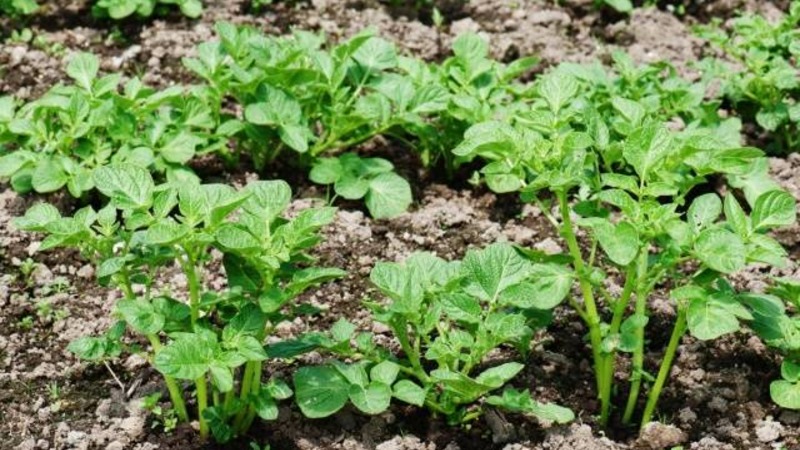
Growth stimulation is aimed at activating biological processes, promotes the germination of eyes and strengthens the immune system. The yield of bushes from treated tubers is always higher, more nutrient content. Suitable preparations:
- "Epin";
- "Zircon";
- "Bioglobin";
- "Poteytin";
- El-1;
- "Baikal".
The products are diluted according to the instructions and sprayed with potatoes in boxes.
Attention! An overdose of stimulants will lead to tuber intoxication, delay or complete cessation of development.
Processing by folk methods
Many recipes for folk remedies to protect and stimulate the development of tubers have proven their effectiveness in practice.
Mineral fertilizers
Mix 40 g of saltpeter and superphosphate in 1 liter of water, dip the tubers and dry immediately. This procedure accelerates the appearance of roots and shoots, and increases resistance to disease.
Potassium permanganate
1 g of potassium permanganate is diluted in 10 liters of water and the tubers are soaked in the liquid for 25-30 minutes. Then they are thoroughly dried and put into boxes. If desired, future beds are watered with the same solution.
Important! Potassium permanganate is not used on acidified soils.
Soak
Soaking gives protection against disease and strengthens the immune system of the tubers. Recipes for solutions for 10 liters of water:
- boric acid - 50 g;
- urea - 20 g;
- zinc sulfate - 10 g;
- table salt - 200 g.
The tubers are kept in each solution for 30 minutes.
Wood ash
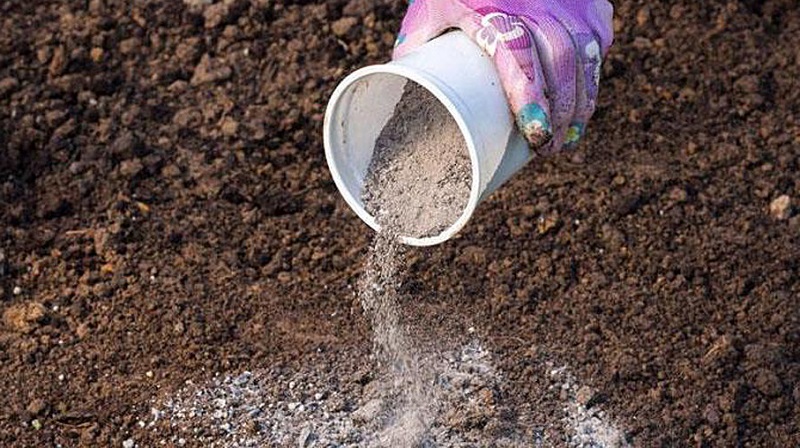
Ash treatment is useful at any stage of planting raw material preparation. In it, tubers without sprouts are rolled or powdered directly in the boxes.
Disinfection with copper sulfate
A solution of copper sulfate is prepared 2-3 days before planting. There are several options:
- For 10 liters of water add 1 tsp. vitriol, then add the same amount of boric acid and potassium permanganate. The tubers are immersed in liquid for 15 minutes, dried and germination is continued.
- Dissolve 1 tbsp in a bucket of water. l. copper powder and 1 g of potassium permanganate. The tubers are moistened with liquid before planting.
- For 10 l of hot water, 5 g of vitriol, 60 g of superphosphate, 40 g of urea, 10 g of boric acid and 1 g of potassium permanganate are used. Potatoes are kept in solution for half an hour. The method is especially effective before the start of germination.
The most common mistakes and difficulties
One of the main mistakes is ignoring any measures for the processing of planting raw materials.
Errors include planting spoiled tubers, from which the damaged part is cut off. They are already infected and will transfer pathogens to the site, the harvest of such bushes will be poor.
Determining the correct preparation time often becomes a problem for gardeners. If the tubers begin to germinate too early, the sprouts become elongated, thin and brittle.
Tips and tricks from experienced gardeners
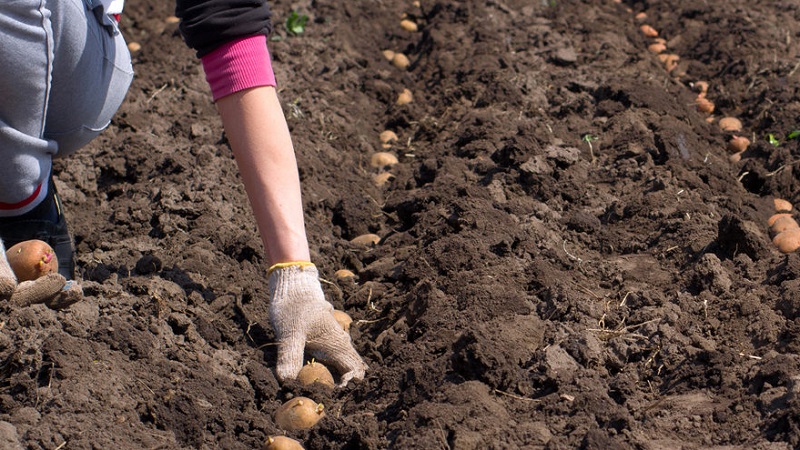
Gardeners with many years of experience recommend using long-term processing methods. They are more effective and suitable for most varieties.
For the proponents of organic farming, there is an environmentally friendly method of pest control:
- 1 kg of ash is boiled in a bucket with 10 liters of water for 15 minutes;
- add grated laundry soap;
- cool and spray the bushes in the evening or in cloudy weather.
Collect planting material in the fall. Tubers without defects from healthy bushes, which gave the greatest yield, are stacked in separate boxes.
It is interesting:
How to plant and grow potatoes in the garden
Advantages and disadvantages of growing potatoes using Dutch technology
Competent planting of potatoes for the winter: step-by-step instructions for novice gardeners
Conclusion
The main stages of preparing potatoes for planting are divided into selection and calibration of tubers, germination, growth stimulation and disinfection. These measures increase yields and plant resistance to diseases and pests.For preventive treatment, industrial preparations are used, as well as folk methods. The entire preparation process takes 25-40 days, depending on the technology.