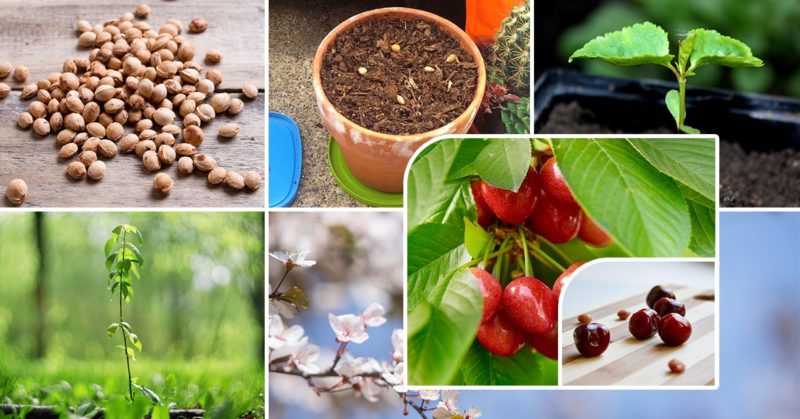
Step-by-step instructions: how to grow a felt cherry from a stone at home
Felt cherry belongs to the genus Plum. Outwardly, it is very similar to an ordinary cherry, but belongs to a different species and is crossed with peaches, apricots, plums and cherry plums. The bush got its name due to the fact that its branches, leaves, pedicels and even fruits are covered with pubescence resembling felt.
The plant is propagated in a vegetative or generative way. The last option is the most popular, since it does not require special skills from the gardener and allows you to get abundantly flowering and fruiting shrubs. How to grow a felt cherry from a stone at home, read the article.
The content of the article
Is it possible to grow a felt cherry from a stone
The plant, obtained from seed planting material, looks decorative during flowering and forms a large number of fruits.
If the goal of the gardener is to obtain a varietal seedling, use a vegetative growing method (cuttings or layering). After all, the bone usually turns out to be wild. Such plants have smaller fruits that taste different from the harvest from the parent plant.
Despite this, the generative breeding method does not lose its popularity, due to its advantages:
- This is the easiest way. It does not require special buildings and devices to create the necessary conditions (unlike grafting). Young plants are easy to care for.
- Ease of obtaining planting material. Cherry pits are easy to get even from a neighbor's plot, picking several ripe fruits from a tree.
- High germination. Most of the felt cherry seeds are capable of germinating even without preliminary preparation in the open field, but in this case it takes up to 3 years for the first shoots to appear. At home, seeds germinate much faster.
- Quality seedlings. Plants grown from seeds are hardy and have a higher immunity than shrubs obtained by a vegetative method.
- Longer lifespan than cuttings. Felt cherry is believed to have a lifespan of 10 years. However, experienced gardeners say that rejuvenating pruning can help extend this period for seed-grown felt cherries.
This breeding method also has disadvantages. The most important of these is that pitted cherries rarely retain varietal characteristics. Usually it turns out wild. Another disadvantage of this method of breeding felt cherries is later fruiting.
The wild felted cherry will blossom and bear fruit. The main thing is that there are plants on the site with which it will be pollinated (plum, apricot, peach, cherry plum). Other types of cherries are not suitable for this.
It is interesting! In China (home of the felt cherry), most gardeners prefer to grow a crop from seeds, since it is the easiest way to breed it this way.
The plant begins to bear fruit 3-5 years after landing... The timing of fruiting depends on the correct formation.
Selection of seeds
It is important to propagate felt cherries from quality planting material. To collect it, a healthy tree is chosen without dead branches, signs of disease and pest damage.
Plants with the highest yields and large fruits are preferred.The best seedlings grow from their seeds.
Fruits for obtaining planting material must be fully ripe, with a uniform color, without signs of damage by pests and diseases, of the correct shape.
The bones are cleaned of pulp, washed under running water and examined for damage and signs of infection. All specimens with spots, irregular color and irregular shape are discarded.
Advice! Harvest 2 times more seeds than the desired number of seedlings. After all, not all seeds germinate, and from the sprouts that have hatched, only the strongest will have to be left.
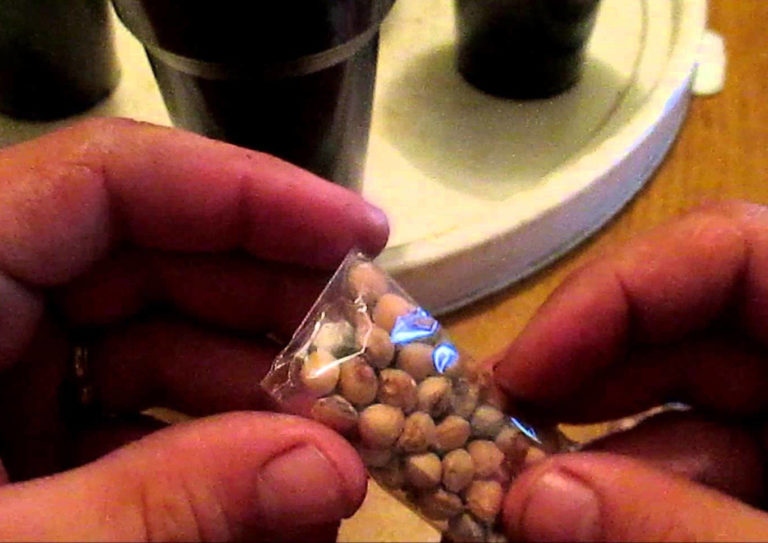
The clean planting material is dried. Then they are placed in fabric and paper bags, in which they are stored until planting.
Preparation of planting material
In order for the seeds to germinate quickly, it is important to properly prepare them for planting. For this:
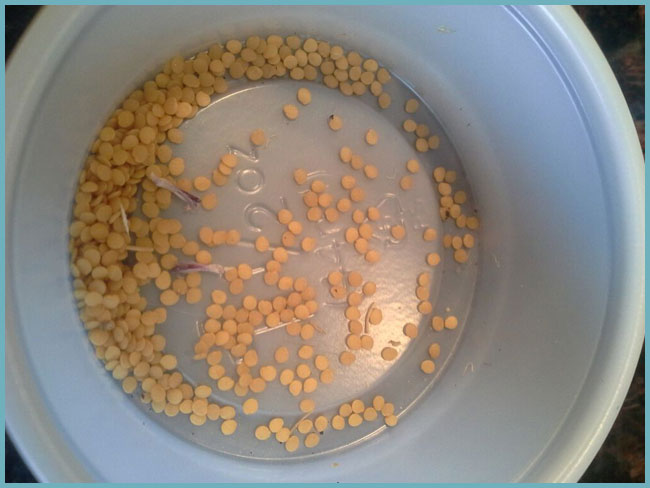
- Cherry seeds are soaked in a light pink solution of potassium permanganate for 6 hours. Then the liquid is drained, and the planting material is poured with water at room temperature. Soaking lasts for 4 days. Every day the water is drained and replaced with clean water.
- A damp cloth is placed on the bottom of the container with a lid, a layer of sand is poured on top or moss is laid. The substrate is watered. Cherry pits are laid on it and covered with a mixture of moss and sand.
- The container is closed with a lid and placed in the refrigerator. In such conditions, the planting material is kept until planting.
This preparation accelerates seed germination. Plants with increased frost resistance will grow from hardened seeds.
Planting cherry pits at home
It is recommended to plant seeds in December or February. Then they will sprout in the spring. Before planting, planting material is kept in the refrigerator.
Note! Gardeners often plant prepared seeds directly in open ground in spring or fall. In this case, a much smaller amount of planting material germinates than when grown at home. Some of them die during the growth process. But the grown seedlings are highly resistant to negative environmental factors.
Selection and preparation of containers and soil
So that the seedlings grow in comfortable conditions and do not get sick, it is important to properly prepare the soil and planting containers. This stage has some nuances.
It is recommended to plant the seeds in individual containers, since in a common box the distance between them should be at least 20 cm. These can be both flower pots and improvised materials (plastic cups, utensils from semi-finished products, etc.). The presence of drainage holes in the bottom of the pots is mandatory.
The containers are disinfected: they are soaked in a dark pink solution of potassium permanganate or sterilized with boiling water.
The soil is used universal or you prepare the soil mixture yourself. To prepare the soil, mix:
- garden land (in which an adult tree will grow) - 2 parts;
- mullein - 1 part;
- humus - 7 parts.
On a bucket of soil mixture, take 10 g of potassium sulfate and ammonium nitrate, 12 g of superphosphate and 12 g of lime. All ingredients are thoroughly mixed. Drainage is used: shell rock, expanded clay, fine gravel, etc.
Both the soil and the drainage are disinfected: they are calcined in the oven or watered with a dark pink solution of potassium permanganate.
Note! Instead of a nutritious soil mixture, a mixture of garden soil and perlite is often used to grow cherry seedlings. The ingredients are taken in equal proportions.
Planting instructions
Planting cherry pits in the ground is not difficult. The main thing is to follow the step-by-step instructions:
- 5 cm of drainage is poured onto the bottom of the container. The rest of the volume is filled with soil mixture.
- The bones are planted in a container to a depth of 2-3 cm and covered with soil.
- The soil is moistened.
- The pot with the crops is covered with foil and placed on the windowsill.
The seed pot is ventilated daily for 15 minutes. The soil is moistened as it dries.After the shoots appear, the airing time is increased, then the greenhouse is completely disassembled.
Note! The first shoots appear a month after planting cherry pits.
Seedling care at home
It is important to grow cherry seedlings, observing the rules of care. They are listed:
- Watering. The soil is moistened as the top layer dries. Use water at room temperature.
- Loosening. After each watering, the soil is loosened to destroy the earth crust. It is convenient to do this with a fork.
- Top dressing. When the first true leaf is formed, the first feeding is applied. Potassium-phosphorus fertilizer is used. The second time the cherries are fed in a month.
- Spraying once a week with water at room temperature.
Cherries do well at room temperature. It is desirable that the room is humid.
If the plant has not been planted outdoors in the fall, a humidifier is used to create optimal conditions in winter. It is advisable to move the tree to a cool room.
Two weeks before transplanting to a permanent place, it is recommended to take the tree out into the street, gradually increasing the time spent there. This will help the plant adapt to new conditions faster.
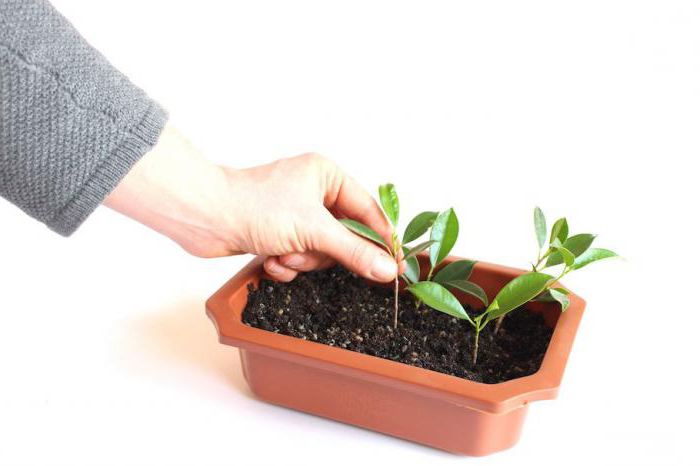
Plant transplant into soil
The seedlings are transplanted into the ground when their height reaches 60 cm. With proper care, this happens by autumn. This is done in September so that the plant has time to take root.
Note! Some growers grow felt cherries at home in the form of bonsai. Even in this form, it is capable of bearing fruit.
Soil preparation
Felt cherry loves fertile, loose soils with neutral acidity. For the plant, they take well-lit, wind-protected areas of the garden.
Advice! Felt cherries are especially often planted near fences, as a hedge, near the facades of houses. This plant strengthens buildings.
3-4 weeks before planting the seedlings, they prepare the site: they dig it up, clean it of weeds, wate it with a hot solution of copper sulfate.
Prepare holes with a diameter and depth of 40 cm. When planting several seedlings, the holes are staggered at a distance of 2-3 m from each other. It is not recommended to thicken the plantings, as this increases the likelihood of infection of felt cherries with diseases and pests in the future.
The soil removed from the hole is mixed with 5 kg of rotted manure, 20 g of potassium sulfate, 35 g of superphosphate. All ingredients are thoroughly mixed.
A bucket of light pink solution of potassium permanganate is poured into the prepared hole... When the liquid is absorbed, a drainage layer with a thickness of at least 5 cm is poured onto the bottom of the hole. Chipped brick, expanded clay, crushed stone are used as drainage.
The next step is to fill the hole with a 15 cm layer of earth. A seedling is placed in the recess along with a lump of earth taken out of the pot. The free space is filled with nutritious soil mixture, which is compacted.
Seedlings are watered with warm, settled water, spending 1-2 buckets per plant. If the soil has settled, add more earth.
The soil around the cherries is mulched with humus, peat, hay or straw.
There is no need to water the plant in autumn. If the fall is rainless, the seedlings are watered before wintering.
It is better to prepare young seedlings for the winter. For this, fallen leaves and other plant residues are removed around the tree. Lay the highest possible layer of mulch. In winter, it is recommended to cover the shrub with snow.
Possible gardening mistakes
When growing felt cherries, gardeners often make mistakes. The most common ones are presented in the list:
- Ignoring disinfection of planting material and soil when growing a seedling from a stone. It is the infected soil and seeds that often cause infection of plants with fungal diseases.
- Excessive watering of seedlings. Stagnant fluid is the main cause of blackleg infection in young plants.
- Use of crushed concrete as drainage. This material changes the composition of the soil, making it unsuitable for growing cherries.
- Adding red peat to the soil for sowing cherry pits. Brown high-moor peat significantly increases the acidity of the soil, therefore lowland black peat is preferred.
It is not necessary to transfer cherry seedlings to open ground in the fall of the same year in which they began to be grown. If the plants have not reached the desired size, the transplantation to a permanent place is postponed until next spring or autumn.
It is interesting:
The best cherry varieties for central Russia
Conclusion
Growing cherry seedlings from seed is the most popular way to propagate this crop. The result will be no worse than with vegetative propagation. Indeed, even from a wild tree, you can collect more than 10 kg of fruit per season. There is a chance that the plant will retain varietal characteristics.
The growing process itself does not require special skills from the gardener. All care for the sprouts is reduced to watering, loosening, spraying and fertilizing. The seedling is equally easy to grow both at home and in the open field. The main thing is to follow the step-by-step instructions, follow the basic rules for sowing seeds and transplanting a grown seedling to a permanent place.