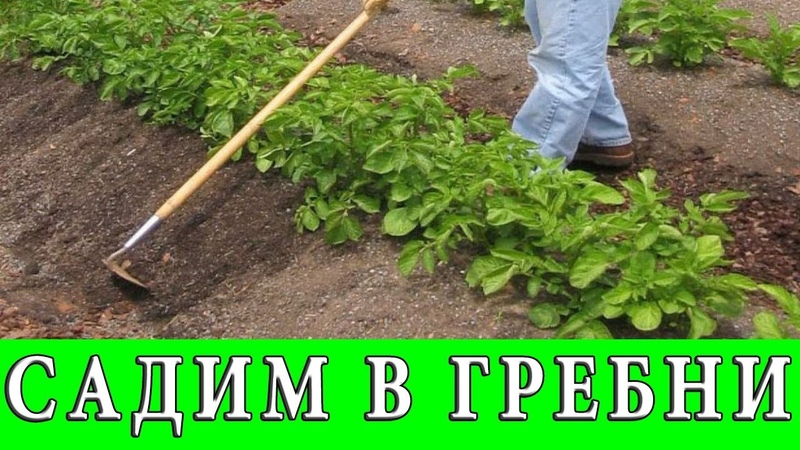
Pros and cons of planting potatoes in combs
The comb method that came to us from Holland is a convenient and interesting option for planting potatoes. It greatly simplifies the care of plants, therefore it is actively used by large farmers and amateur gardeners. The method has positive and negative sides, it is not suitable for all regions and soil types.
The content of the article
Features of planting potatoes in the combs
The technology implies manual or mechanized work, as a result of which flat hills are formed. Tubers are planted in them.
Method description
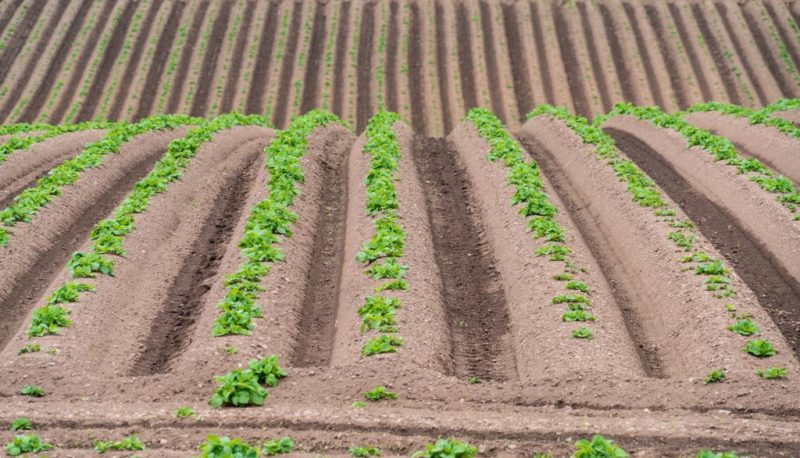
The essence of this method is to huddle tubers on both sides. In this case, ridges with a height of up to 25 cm are formed. The width between the rows is up to 1 m 20 cm, which makes it possible to mechanize the care and to water during drought.
In a well-loosened earth, 70% more oxygen is supplied than usual. The soil dries quickly, so the method is suitable for clayey, heavy soils, where groundwater is at a shallow depth. For places with high humidity, the option is ideal.
Given that there is enough space for the full development and maturation of the culture, a larger number of tubers are formed. They have accelerated growth, which allows the gardener to dig out the crop before it becomes infected with late blight.
Interesting! Ridge-grown vegetables contain 8% more starch than other planting options, which positively affects their taste.
For other types of soil, planting potatoes in ridges is not recommended. Grown in this way in dry places, it will be small and few in number.
Are all varieties suitable
It is recommended to take Dutch potato varieties for cultivation. If their cost is not suitable, they are replaced with some domestic, more inexpensive ones:
- Pretty boy;
- Nevsky;
- Borodyansky pink;
- Lugovskoy;
- Lark.
The hybrids are not used as seed in the next season as they will not retain their parental traits.
Pros and cons of planting potatoes in combs
The positive aspects of the method are noted by summer residents from regions with a rainy climate, short summers and heavy soil:
- the potato nest receives more solar heat - the yield increases due to the creation of conditions necessary for the development of tubers;
- the crop ripens faster due to earlier planting (the top layer of the earth warms up first);
- the root system is developing rapidly due to the facilitated access of oxygen;
- the abundance of precipitation does not contribute to rotting, but compacts the earth and helps the tubers gain weight;
- manual labor is facilitated throughout the growing season.
In areas with light soil and arid hot climate, the method is irrelevant and ineffective. Among the negative sides are the following:
- the ground dries quickly, so the site has to be watered regularly;
- on sandy and sandy loam soils, under the influence of the scorching sun and wind, fertility is quickly lost, the earth settles, requires frequent fertilization;
- natural erosion processes lead to exposure of roots and tubers.
In the absence of sufficient moisture, the bushes will wither and dry out.
Necessary materials
To carry out work with the ridge method, gardeners prepare:
- hand or power tools;
- planting material (potato tubers of the selected variety);
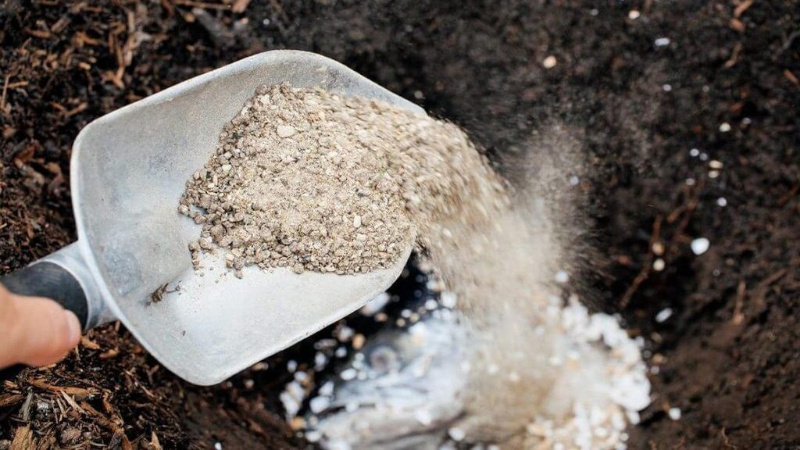
- phosphorus and potash fertilizers.
Terms
In addition to optimal climatic conditions, other factors are also important:
- permissible soil temperature - not lower than + 10 ° C (the tubers are buried to a depth equal to half the bayonet of a shovel);
- the planting date depends on the completion of the preparatory stage and the state of the land;
- pre-dug the soil to the depth of the arable layer.
Landing technology
The Dutch potato planting method is more suitable for industrial purposes, growing on large tracts of land. But a number of elements are used in limited areas.
Site preparation
Growing potatoes this way requires a large area of land in a well-lit, open area.
Do not plant the crop in the place where it was grown in the previous season. The potatoes are returned to their original site after 3 or 4 years. They adhere to the rules of crop rotation: do not plant after Solanaceae (tomatoes, peppers, eggplants).
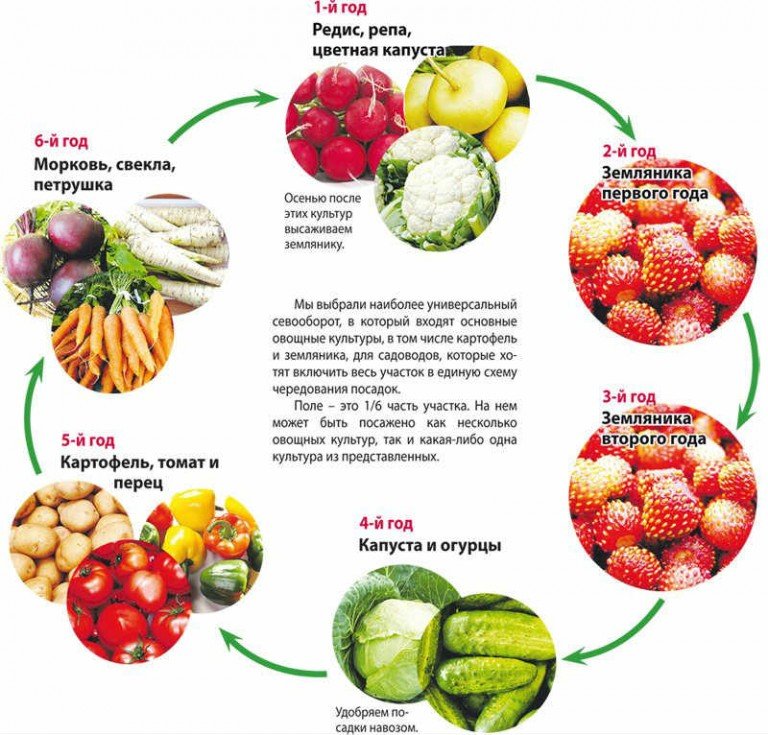
Suitable predecessors:
Tuber preparation
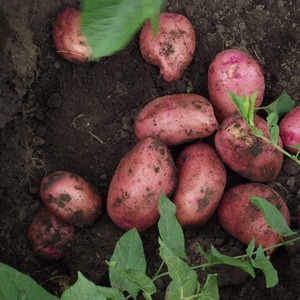
Select specimens up to 5 cm with sprouts about 0.5 cm long. Each potato must have at least 5 eyes - in this case, the yield increases by 20%. If the tubers have long shoots, they are broken off when planting, which reduces the risk of a drop in productivity by 25%.
Green specimens with small sprouts are considered good planting material.
Potatoes are pre-processed:
- before germination or planting use the growth stimulator "Poteytin" at the rate of 1 ampoule per 1 liter of water;
- from diseases, tubers are soaked for 1 hour in a solution of potassium permanganate (1 g per 1 liter of water);
- insectofungicides are used against pests, but since the poisons are removed for a long time, they are recommended for late and mid-season varieties.
Soil preparation
In the fall, the soil is plowed to a depth of 22 to 25 cm, in the spring it is cultivated with a cutter to a depth of 12 cm. So the plot will be flat and loosened.
Attention! Using the cutter in spring ensures potatoes ripen 7-10 days ahead of schedule.
It is recommended to apply a complex of fertilizers during autumn plowing: mineral + organic. In the absence of organic matter, only the first option is used.
In the spring, fertilizers are applied during planting.
When to plant
The tubers are planted in well-heated mature soil. To check the readiness of the soil, an earthen lump is thrown from the height of the belt. If it crumbles when it hits the ground, work begins.
How to plant potatoes in the combs
The area allotted for culture is being plowed up. Landing is carried out on the same day. The ridges are formed in a north-south direction to provide plants with a maximum and even amount of light.
How to plant a crop correctly? Basic methods:
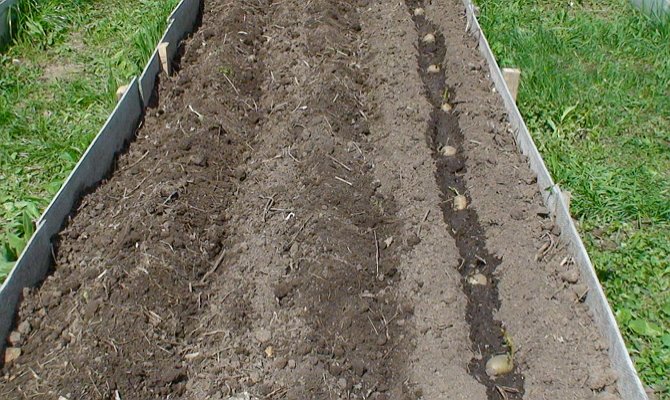
- Prepare furrows. Lay the tubers 4 cm deep in them and cover them with soil taken between the rows.
- Mark the ridges with twine stretched on pre-installed pegs, lay the potatoes along it and cover them with earth to make a ridge.
- Make ridges with a boot, on top of which put the tubers 6–8 cm deep.
Landing scheme
The distance between the potatoes is 20-30 cm, between the rows - 65-80 cm. The height of the ridge is from 8 to 10 cm. It should be up to 30-35 cm wide.
Important! Triangular ridge formation is not allowed. In this case, the sprouts will not go up, but to the sides, and the yield will decrease.
14 days after planting, before the emergence of shoots, the aisles are loosened, forming a trapezoidal ridge with a height of 23-25 cm. Width at the bottom - 75 cm, on top - about 17.
Differences between the classic ridge method and the Dutch planting
Planting potatoes in the Dutch way is similar to the classic ridge planting, but has several differences:
- row spacing is at least 75 cm;
- when planting cut or small tubers, high ridges do not form - 8–10 cm is enough (the height will increase with hilling);
- only sprouted tubers are planted;
- the soil is not plowed during preparation, only loosened with a cultivator (seam capture - 12-14 cm);
- fertilizers are not applied for potatoes.
Further care
This method of growing potatoes greatly facilitates the care of plants throughout the entire period of their growth and development. The row spacings are weeded 1 time, 2 weeks after planting (when the first shoots appear).
Top dressing
During the period of growth and maturation, the plants are fed with mineral or organic fertilizers:
- when seedlings reach 7–10 cm in height, use a solution of mullein (1:10) or chicken droppings (1:20);
- saltpeter is applied under the bushes (2 g each);
- during the formation of buds, the following mixture is used: 200 g of mullein, 40 g of superphosphate, 10 liters of water (consumption - 0.5 liters of solution under a bush);
- after flowering, foliar feeding is carried out: 1 tbsp. l. superphosphate in a bucket of water, leave for 48 hours (consumption - 1 liter per hundred square meters).
Watering mode
Mandatory three meals a day watering plants:
- before flowering;
- 14 days after flowering;
- after 20 days from the second watering.
If the weather is dry, the plantings are moistened more often.
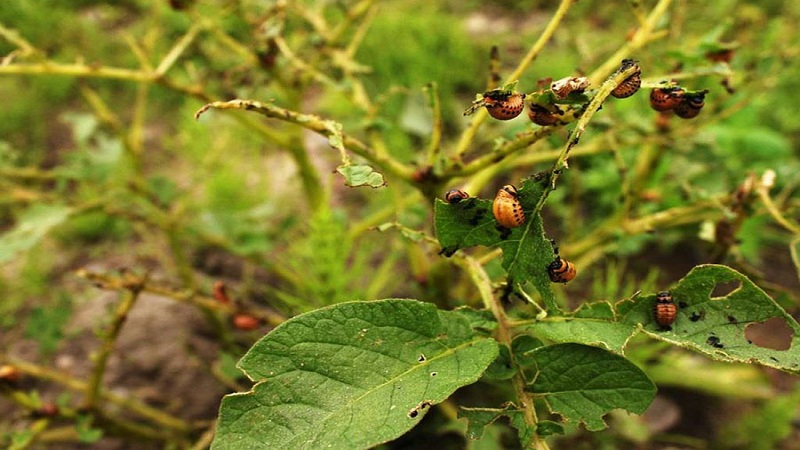
Protection against diseases and pests
With proper processing of tubers at the stage of their preparation for planting, chemicals are used less often. For prophylactic purposes, a solution of potassium permanganate is used: 2 g per bucket of water (seedlings should reach 7-10 cm in height).
Attention! Some farmers use herbicides to remove weeds. Spraying is carried out when the shoots are still young.
To get rid of pests plants are treated with pesticides.
Possible problems
The main difficulty lies in the laboriousness of the preparatory process and the correct determination of the soil structure. Before planting using the classic or Dutch ridge method, the soil begins to be prepared in the fall.
When and how to harvest

Potatoes for sale or for personal use are harvested in late August - early September, for planting in the next season - in late July - early August.
The tops are mowed 14 days before harvest in order to shorten the harvesting period by 7-10 days and to prevent the damage of plants by late blight.
The tubers are dug out by hand or using a special technique. In the first case, less labor costs: after the passage of the technique, the potatoes lie on the surface and are simply harvested.
Tips from experienced gardeners
It is not recommended to leave the tops on the site after mowing, as it will increase the risk of pests.
It is better to grow elite varieties of potatoes that are disease-resistant and pest-resistant. Their taste and quality are higher.
The color of the leaves helps to understand when to feed and how. If they are pale, nitrogen fertilizers are applied before the plants bloom, then a non-concentrated solution of phosphorus compounds along with watering.
Conclusion
The ridge method of planting a crop has more advantages than disadvantages: early ripening, increased yield, facilitation of manual labor. The method is suitable for regions with heavy soils and high humidity. To get a rich harvest, it is important to follow all the growing rules, and most importantly, to determine the type of soil in advance.