How to choose and prepare pumpkin seeds for planting, and then grow an excellent harvest from them
The largest pumpkin in Russia is considered to be the Dusya pumpkin weighing 645.5 kg, registered on September 15, 2018 in the Moscow region. Do you want to grow one?
Everyone remembers a big round fat woman of sunny color since childhood. Many people grow this tasty and healthy vegetable, but not everyone knows when and how to plant it correctly.
The cultivation of pumpkin has its own characteristics and secrets. Knowing them, you can grow a record harvest.
The content of the article
How to prepare and plant pumpkin seeds
Caring for plants begins with a responsible attitude to the choice of planting material. To get friendly shoots and strong seedlings, seeds require proper preparation.
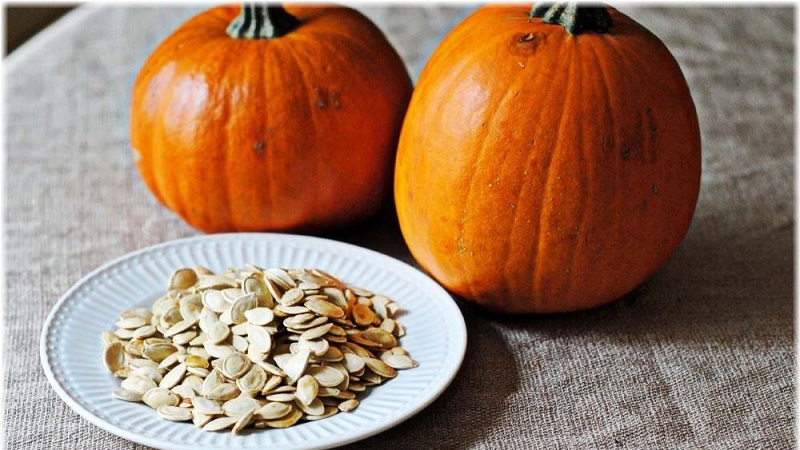
Selection and preparation of seeds
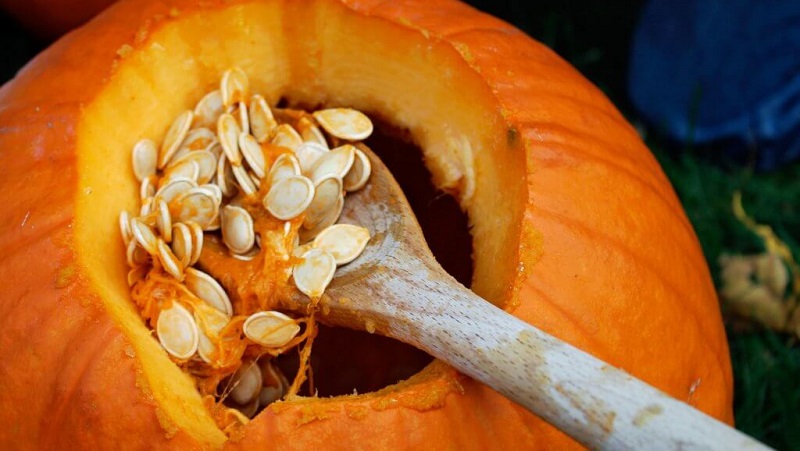
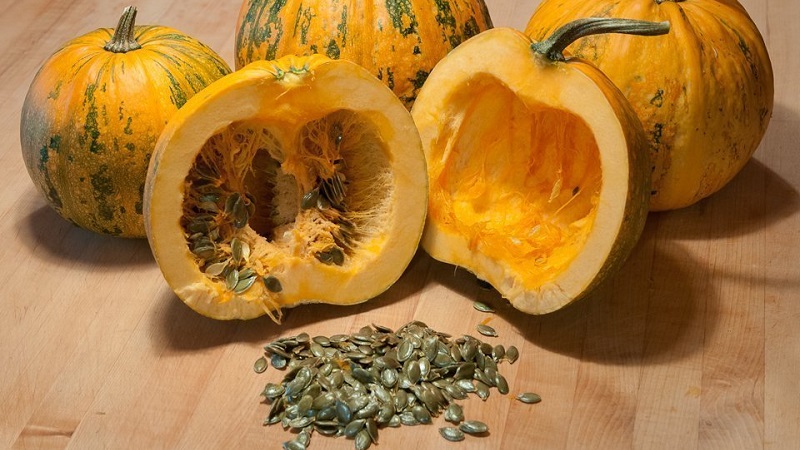
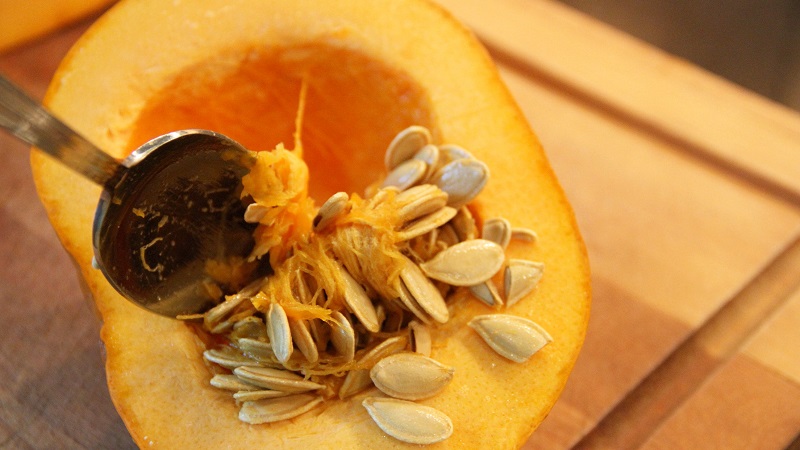
Pumpkin seeds for planting are obtained by saving seeds from the fruits of last year's harvest, or by purchasing them in a store.
When self-harvesting seeds, proper storage is of great importance - the seeds should be kept in a dark, dry place, using a paper bag. Such seeds do not lose their properties until 8 years.
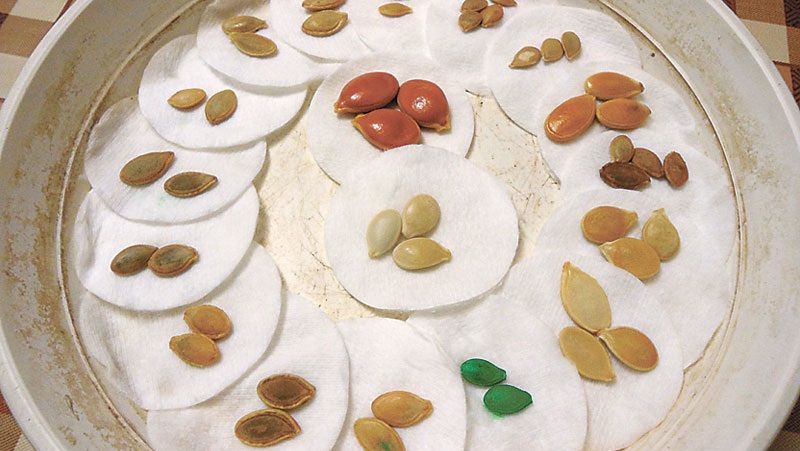
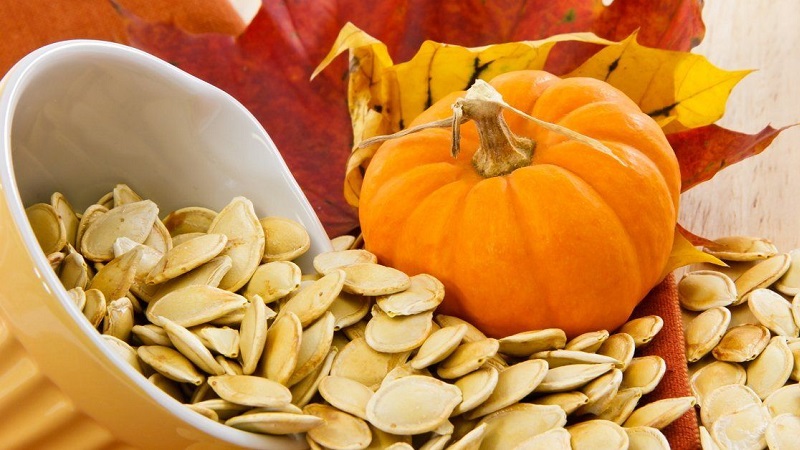
Sorting takes place before planting. The priority is large, even and thick seeds. Small, flat, with traces of deformation, it is better not to use.
You can arrange a small test - place the seeds in a glass of water for 3-4 hours. Drowned specimens are suitable for sowing, those remaining on the surface are not.
Germination is also checked. A certain number of seeds are germinated, and the percentage of germination is determined by the number of hatched.
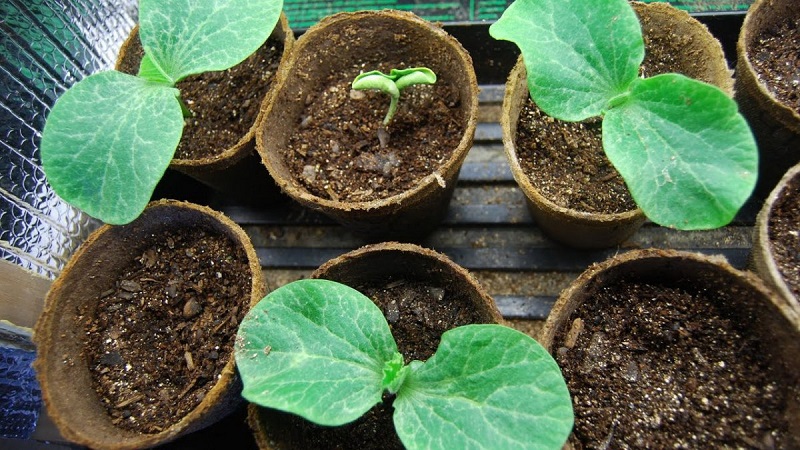
Selected seeds can be immediately planted in special peat pots or cups with soil, but even with abundant watering and favorable temperature conditions, the emergence of seedlings can take several weeks. This is due to the presence of a hard seed coat.
To sprout faster, use soaking. The planting material is placed in warm (up to 40 degrees) water for 1-2 hours.
To disinfect and prevent bacteria and fungus, the seeds are placed for 15-20 minutes in a solution of potassium permanganate (1 g per 100 ml of water), and then washed with clean water.
After soaking, the seeds are less attractive to insects, as their taste and smell become weaker.
The next stage is germination. The seeds are wrapped in a damp cloth or dipped in a container with wet sawdust and left until sprouts emerge from them. In this case, the water should be at room temperature. The fabric is periodically moistened.
To increase the cold resistance of plants, germinated seeds are hardened. In a piece of damp cloth, the seeds are left on the bottom shelf of the refrigerator for 3-5 days. The temperature should not drop below +2 degrees.
Planting seeds and caring for seedlings
Pumpkin is planted for seedlings about 18-22 days before the intended transfer to open ground. Prepared seeds are planted in special soil. You can buy it at the store. Any mixture for vegetable seedlings or cucumbers will do. At home, they make a mix of peat, rotted sawdust and humus in a ratio of 2: 1: 1 or peat and humus 1: 1.
The seedling soil is laid out in special peat pots or any suitable plastic containers with a volume of 0.2-0.5 liters. Even a paper container is suitable for this, the main thing is that when planting, you can easily extract the plants from it along with the earth.
Important! Each seedling should have its own pot, as any pumpkin transplant will be stressful.
When using large boxes, before filling them with soil, the bottom is covered with a layer of sawdust about 4 cm thick or expanded clay 1-2 cm thick.
Landing takes place as follows:
- the cups are filled with soil by 2/3;
- well watered;
- lay the seeds to a depth of 2-4 cm;
- the container is covered with plastic wrap or glass;
- the seedlings are transferred to a warm darkened place, where they maintain a temperature regime in the daytime + 20-25 degrees, at night - + 15-20.
The covering material is removed 1-2 times a day for 10-15 minutes for airing, and immediately removed when shoots appear.
To prevent the sprouts from stretching, a week after the emergence of seedlings, the seedlings are transferred for 5-7 days to a room with a temperature lower by 4-5 degrees, after which they are returned to their original place.
South windows are most favorable for young plants. Others will do, the main thing is the presence of bright daylight.
If the shoots become too long, add soil to the planting container.
Watering the pumpkin needs regular, but in small portions. It is important to keep the leaves dry when watering.
The seedlings are fed 1-2 weeks after germination with a mullein solution: 100 g is diluted in 1 liter of water, infused for at least 3-4 hours, after which another 5 liters of water is added. It is enough to add 1 tablespoon for each plant.
It is possible to use "Nitrofoska": 7-8 g is diluted in 10 liters of water and poured a teaspoon under each bush.
Choosing the best time to plant a pumpkin
Planting pumpkin seeds in open ground is carried out at an air temperature of at least +18 degrees.
To transfer seedlings to the site, the average daily temperature should not fall below +10 degrees. The direct procedure for planting pumpkin seedlings is carried out at a temperature of + 13-15 degrees.
The weather should not be sunny, optimal in the evening.
The lunar calendar is used to determine specific dates for planting pumpkins. It indicates the most favorable days in accordance with the lunar phases.
Planting pumpkin seeds for seedlings usually occurs in late March-early April. Planting grown seedlings into the ground - between the second half of May and the first days of June.
Planting work is not carried out on the new and full moon. It is better to sow on the growing moon.
Growing pumpkin outdoors
The transfer of grown seedlings from the usual conditions to the site will be less painful for them with proper preparation of the soil and the seedlings themselves, which should be carried out in advance.
You should also not forget about careful plant care.Timely watering and feeding will help to increase the yield of pumpkin, and the harvest obtained as a result of hard work is important not only to harvest it correctly, but also to preserve it.
Site preparation and planting of finished seedlings in the ground
Seedlings that have reached a length of about 20 cm and have at least two true leaves are considered ready for planting.
Land preparation begins in the fall. The site is cleared of crop residues, weeded, dug up.
Organic fertilizers are introduced - manure or peat-manure compost (about 50 kg per 10 m²), humus. The soil is enriched with phosphorus also in the autumn. Superphosphate on soils of average fertility is used in a dosage of 200 g per 10 m².
Note! To obtain a good pumpkin crop, the amount of fertilizer applied is calculated for each specific type of soil individually.
In the spring, as soon as the soil thawed and warmed up enough, the site is dug up again.
Fertilize acidic soils with lime, ash or chalk. Dense, clayey - compost or humus, adding river sand and peat. You can use green manure - plants that are planted before planting the main crop to improve the structure of the soil and enrichment with nitrogen. They inhibit the growth of weeds.
If the soil is dense and moist, the beds should be at least 25 cm above the ground; if loose, the beds can be omitted at all.
Important and crop rotation. It is undesirable to plant a pumpkin in an area where related crops previously grew. It is best to use the soil after legumes, nightshades, onions, cabbage, carrots, or beets.
A place for a pumpkin on the site is chosen well-lit by the sun and closed from cold winds.
Seedling holes are located at a distance of at least 1 m from each other. 1-1.5 m are left between the beds.The width of the hole is 40-50 cm.
Humus or compost, wood ash are placed at the bottom of the holes. Potash, phosphorus fertilizers, ammonium nitrate are added, if they were not introduced when digging the site. Sprinkle abundantly with warm water (at least 2 liters).
A week before disembarkation, they begin to prepare the seedlings - they are taken out into the street, gradually increasing the time spent in the open air from 2-3 hours to a whole day.
The seedlings are transferred to the prepared holes by the transfer method - they are removed from the planting container along with an earthen clod to avoid injury to the roots. The seedling is placed in the hole at a slight angle, gradually poured the earth and tamped.
It is advisable to sprinkle the hole with peat or humus on top to avoid moisture evaporation.
Until the seedlings take root in a new place, at night they are covered with cut plastic bottles, cardboard cones or greenhouse structures with arcs and polyethylene.
A similar system has a pumpkin planting in open ground with seeds. The plot and holes are prepared in the same way; seeds - the same as for seedlings. Several seeds are placed in each hole at different depths (5-8 cm).
Cover the planting with glass, polyethylene or covering material.
When the seedlings sprout, the strongest is chosen from them, the ground part of the rest is ripped off without pulling out the roots.
Follow-up care
After transplanting the pumpkin, proper outdoor care is important.
Water the plants almost every day until they begin to produce new leaves. Before the appearance of fruits, watering is slightly reduced, and then resumed. When the pumpkin is ripe, watering is stopped.
Important! Water for irrigation is defended, it should not be cold.
The soil is regularly loosened. This provides oxygen access to the root system and prevents the appearance of weeds. Loosen the soil near the plants with care so as not to damage the roots.
7-10 days after planting the seedlings or three weeks after sowing the seeds, organic and mineral fertilizers are introduced into the soil, alternating them with each other.
You can start with feeding with manure. It is diluted with water in a 1:10 ratio. Poultry manure diluted 1:20 is also used.
If these fertilizers are used in dry form, they are first immersed in hot water for several hours to swell, after which water is added in the amount necessary to maintain the proportions.
The next time, mineral fertilizers are applied: potassium sulfate in a dosage of 2 teaspoons per bucket of water or superphosphate - 2 tablespoons per bucket of water.
Potash fertilizers can be replaced with ash by taking 1-2 glasses per bucket of water.
Feeding with nitrogen also has a positive effect. Fertilizer "Azofoska" is applied under plants that have 2-3 true leaves, in a dosage of 2 tablespoons per bucket of water. Then before flowering and again - when fruits appear, each time increasing the dosage by 1 tablespoon.
The solution is poured under the plants, retreating 15-20 cm from the stem, into previously prepared grooves 6-8 cm deep so that the roots do not get burned. At the next feeding, an indent of 30-40 cm is made, the grooves are deepened to 10-12 cm.
Foliar dressing is also useful. Pumpkin leaves are sprayed with solutions of complex fertilizers for vegetable crops. You can use urea - 1 tablespoon per bucket of water.
Pumpkin stalks, which have reached a length of one meter, are carefully untangled, laid out and sprinkled with earth so that they can take root and receive more nutrients.
After the formation of the first fruits on the thickest lash, it is cut off, 5 leaves receding from the small pumpkin. The rest of the stems of the bush are pinched, sprinkled with soil.
The fruits must receive sufficient sunlight. If leaves interfere with this, they are carefully removed.
When the pumpkins have formed, a piece of plywood or wood board is placed under each fruit to avoid rotting.
Harvesting and storage
The harvest time is dictated by the pumpkin variety. Approximate dates are indicated on the seed packaging. Climatic conditions also play an important role.
Particular attention should be paid to the biological maturity of the fruit. It is determined by several criteria:
- stems and leaves begin to turn yellow and dry;
- the fruits change color, acquiring the characteristic of their variety (they turn yellow, orange), but it is worth noting that some pumpkin varieties remain green or gray at full maturity;
- the bark hardens;
- the stalk stiffens and dries up.
A pumpkin can be considered ready for harvest if all of the listed signs are present.
The crop is harvested in dry, sunny weather. If the autumn is rainy, and the soil does not have time to dry out, it is better to dry the removed fruits in the sun.
It is recommended to have time to collect pumpkins before frost, even if the fruits are not ripe, otherwise they may become completely unsuitable for food after freezing.
Pumpkins are cut from a bush with a pruner or a sharp knife, leaving a stem 4-7 cm long.
The removed fruits are sorted out. Patients with traces of injury try to use it first, since they will not be stored.
Store the pumpkin for the first 2-3 weeks in a bright, well-ventilated area, protected from direct sunlight. The recommended air temperature is from +20 degrees.
For permanent storage of the crop, choose a dark, dry, well-ventilated place. The air temperature is optimal from +5 to +10 degrees, humidity - no more than 80%.
Storage in a basement, cellar, pantry, shed or balcony is ideal. It is allowed to keep the pumpkin in the refrigerator or in the coldest place of the apartment in boxes and boxes.
There should be a small distance between the fruits so that they do not come into contact with the bark and free air circulation occurs.
Plywood, cardboard or cloth are placed under the pumpkins so that they do not lie on the cold floor.
Covering with rags and old blankets will help to avoid freezing on the balcony or loggia when the air temperature drops.
If there is very little space in the apartment or house, you can freeze the cut pumpkin and store it in this form for up to 70 weeks. Also, various jam and marinades.
Tips & Tricks
To increase the germination of seeds, they are soaked for a day in growth stimulants. Such preparations are sold in specialized horticultural departments.
To avoid damage to the crop by pests and diseases, regular inspection of the leaves and stems of the plant, the timely removal of decayed, darkened shoots and weeds will help.
To combat melon aphids, a soap solution is used, which is sprayed on the leaves. To get rid of the slugs, dust the ground around the pumpkin and leaves with ash.
In the absence of fruit ovaries in due time, artificial pollination may be required. This is done by typing pollen from a male flower with a brush or a piece of cotton wool and sprinkling it on the female pistil, or simply pressing the male flower with stamens to the female one.
Planting decorative flowers or any flowering plants with a fragrant scent next to the pumpkin will help attract pollinating insects to the pumpkin.
Read also:
What will happen if you eat garlic every day, and how much to use it, so as not to harm your health.
The benefits and harms of boiled pumpkin: what is good about a boiled vegetable.
Unpretentious in care, but at the same time generous for the harvest tomato "Tea Rose".
Conclusion
An excellent pumpkin crop is not so difficult to get. It is important from the very beginning to correctly approach the selection and preparation of seeds, devote a little time to caring for seedlings, and carry out high-quality processing of the site.
Thorough watering, timely feeding, protection from pests and weeds - and the pumpkin will certainly thank you with a good harvest.